This 5 minutes tutorial will guide you through the process of a minimal Gamification Scheme creation via the interface. It consists of:
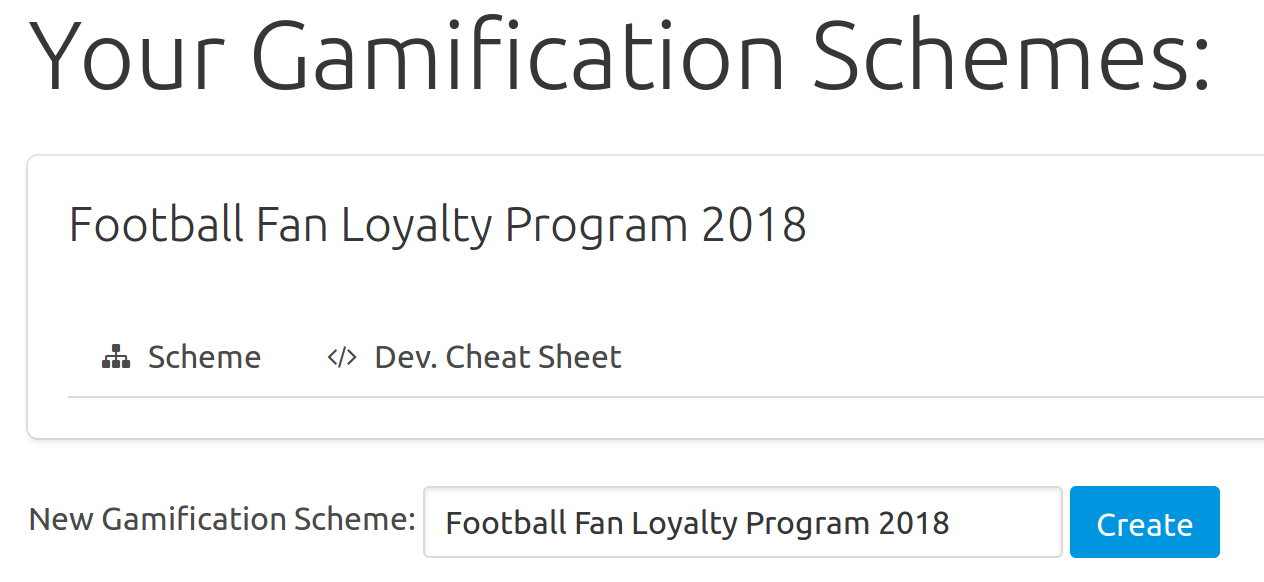
Creating a new Gamification Scheme couldn't be easier. Simply encode a name (you can always change it later) in the 'New Gamification Scheme' text field on your dashboard and hit the 'Create' button! For instance, let's create a new Scheme called "Football Fan Loyalty Program":

Your freshly created Gamification Scheme should be displayed, including two tabs to populate the scheme and to get the credentials for API communication.
You can check the Gamification Scheme has been successfully created by hitting the 'Dev. Cheat Sheet' tab. You should see two pairs of API keys. More information about how to use these keys to connect to the API can be found in the Quick Start API section.
Your Gamification Scheme is now created but is still empty. You have to populate it with Activables. Activables are items your players will activate (!). They represent either Actions or Rewards players will achieve or receive, depending on the requirements you associate with (called Conditions). As this may seem complicated by now, it will become clear in a minute.
To create your first new Activable, start by hitting the 'Scheme' button. This should normally list all the current Activables defined for this Gamification Scheme but as you don't have one already, it will simply display a sentence telling you so.
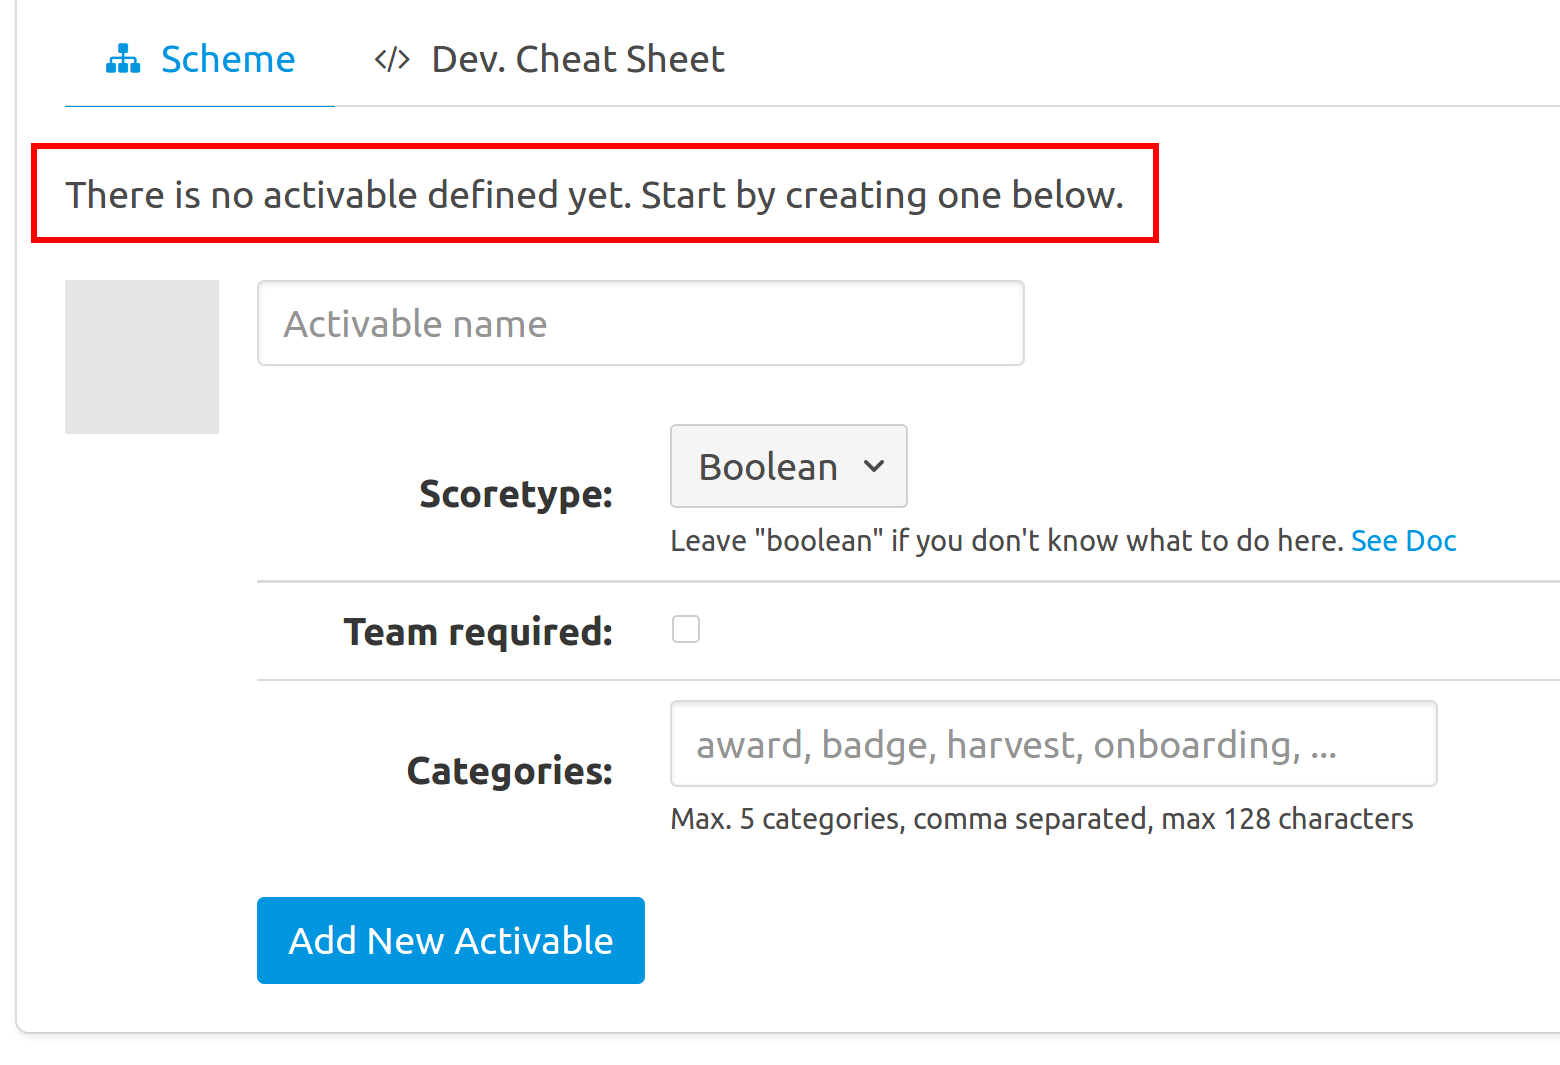
Give a name to your activable in the form below it and leave the options as is. Hit 'Add new Activable'.
Continuing the previous example busy creating a Football Fan Loyalty Program, let's define an Activable named 'Support' to let players claim their support to their football team during a match:
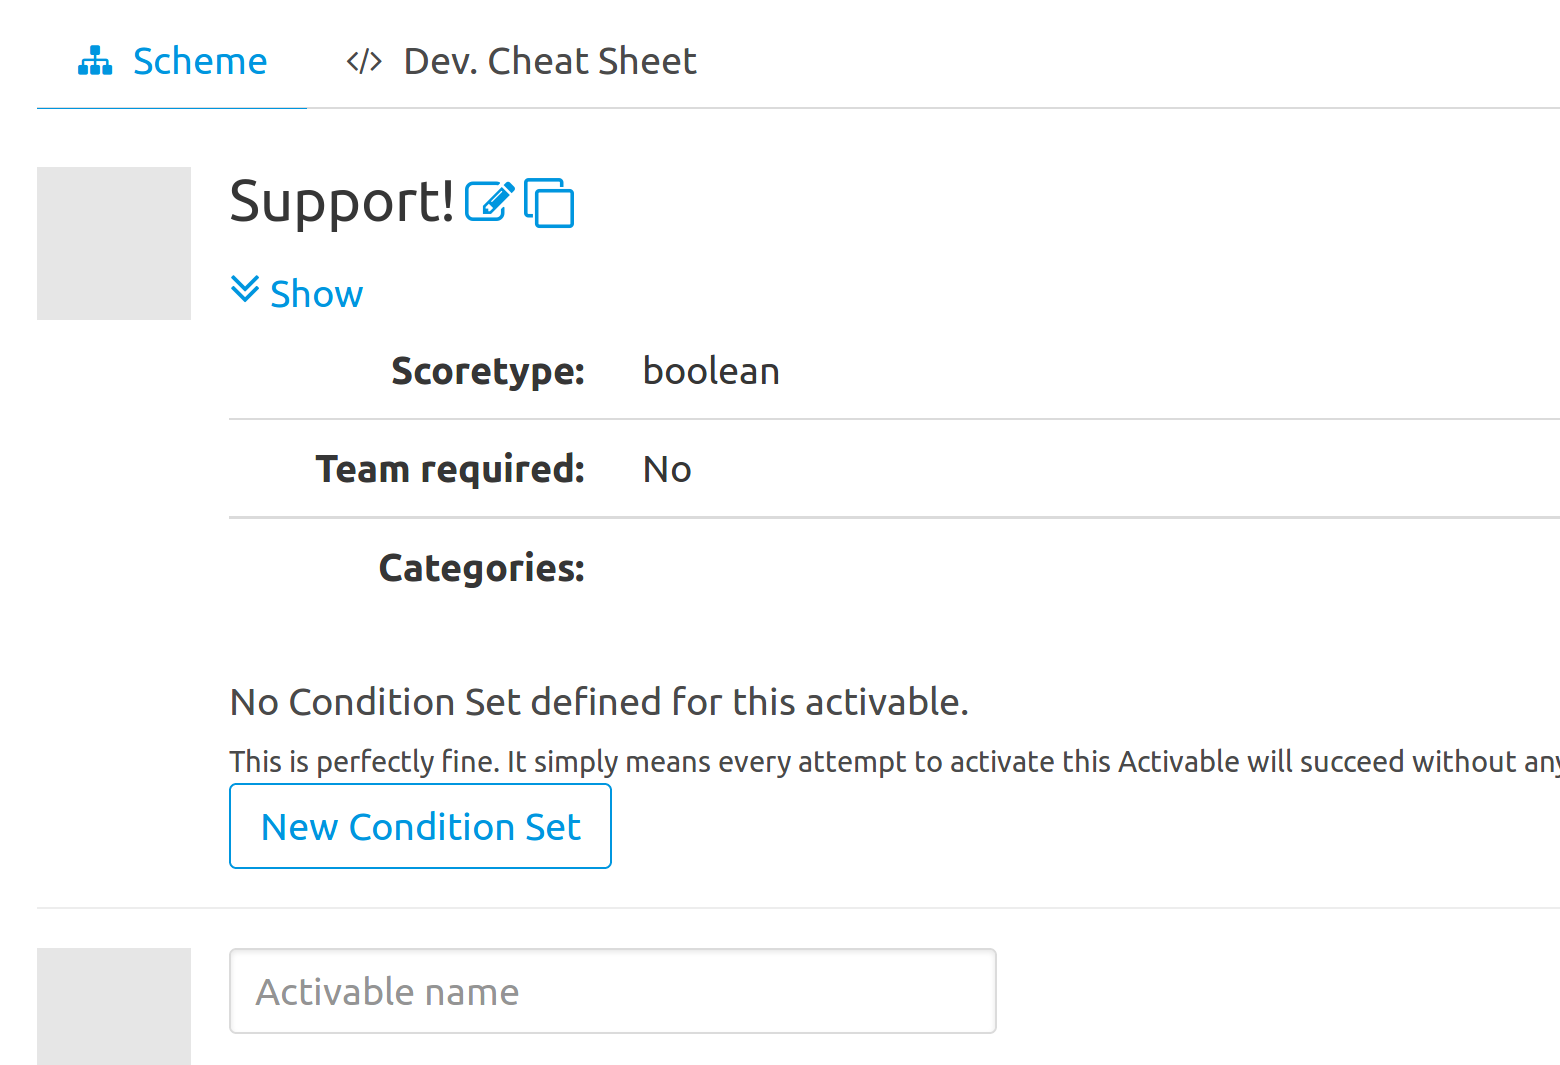
The just created Activable is perfectly fine (and can indeed be activated through API) but no condition of validity are associated with it yet, and this is probably not what you want.
To add some requirements to your Activable you need to add a new Condition Set. Condition Sets group conditions that must be validated as a whole before an Activable may be activated by a player. You can create multiple condition sets, and each of them has to be validated for an Activable to be activated by a Player. Combination of Conditions is the heart of Place2Be and allows very fine tuned Gamification mechanics.
To create a new Condition Set on an Activable, hit 'New Condition Set' button. You should see a new condition set like depicted at figure 5.
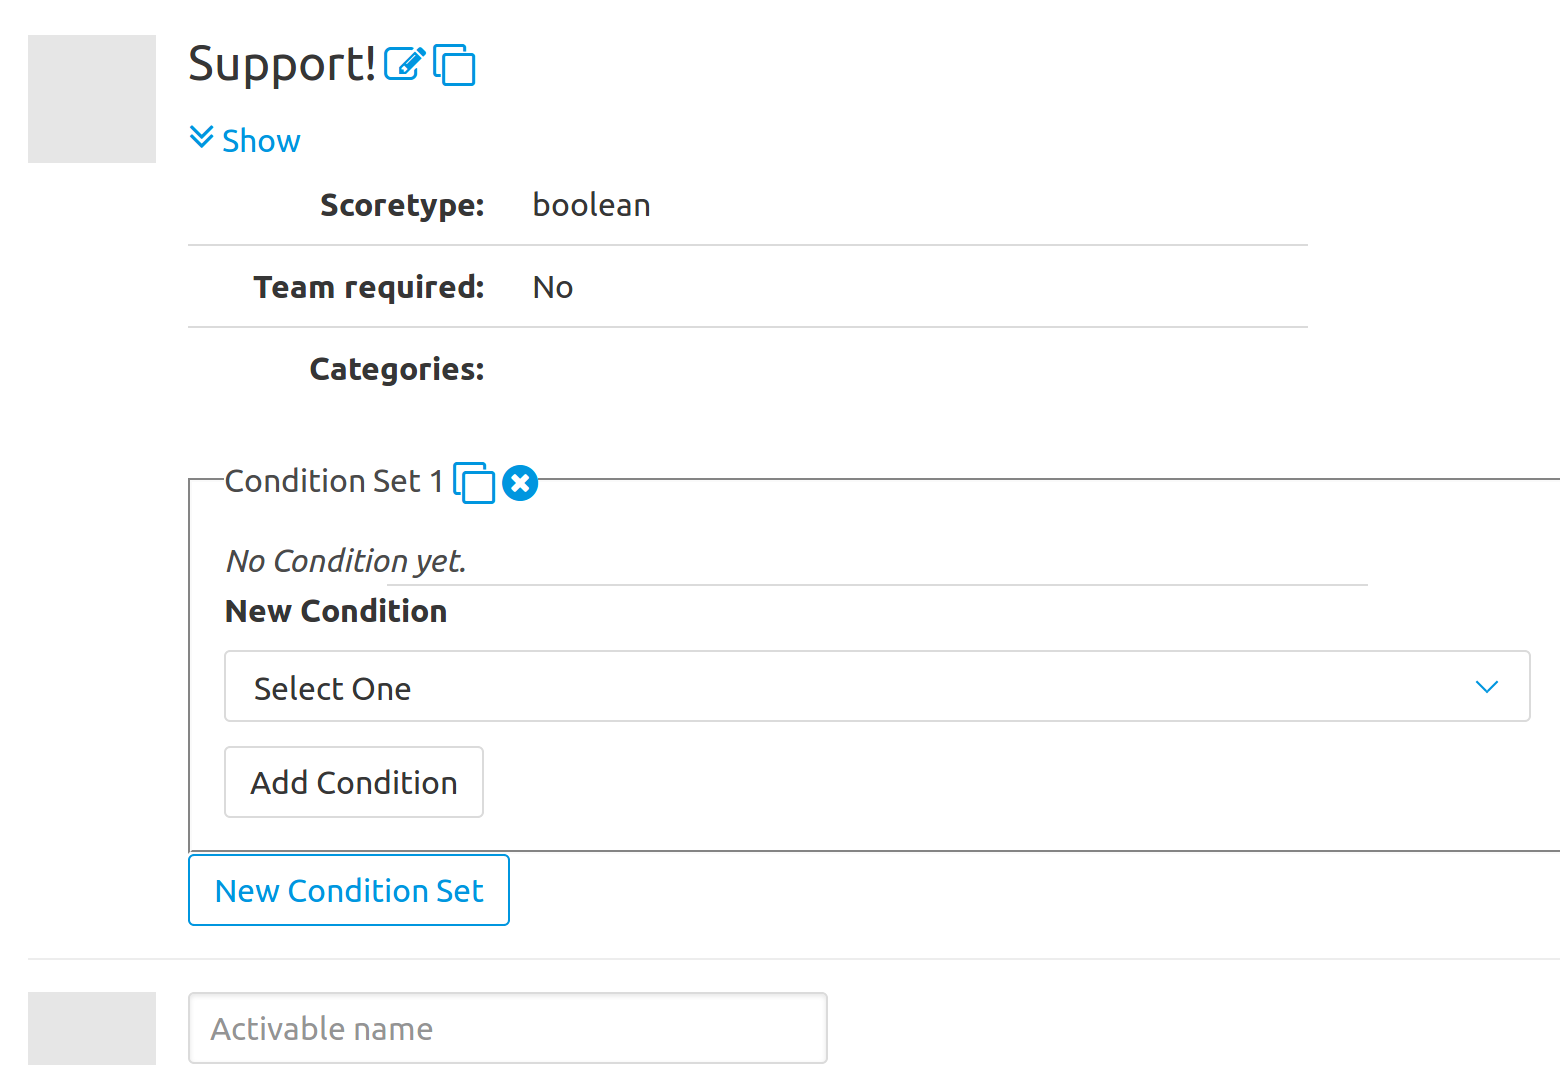
Still busy with example of the first section, let's impose that players can only give Support to their team during match period. These take time on Saturday evenings, from 6pm to 11pm:
Once done, you should see something like this:
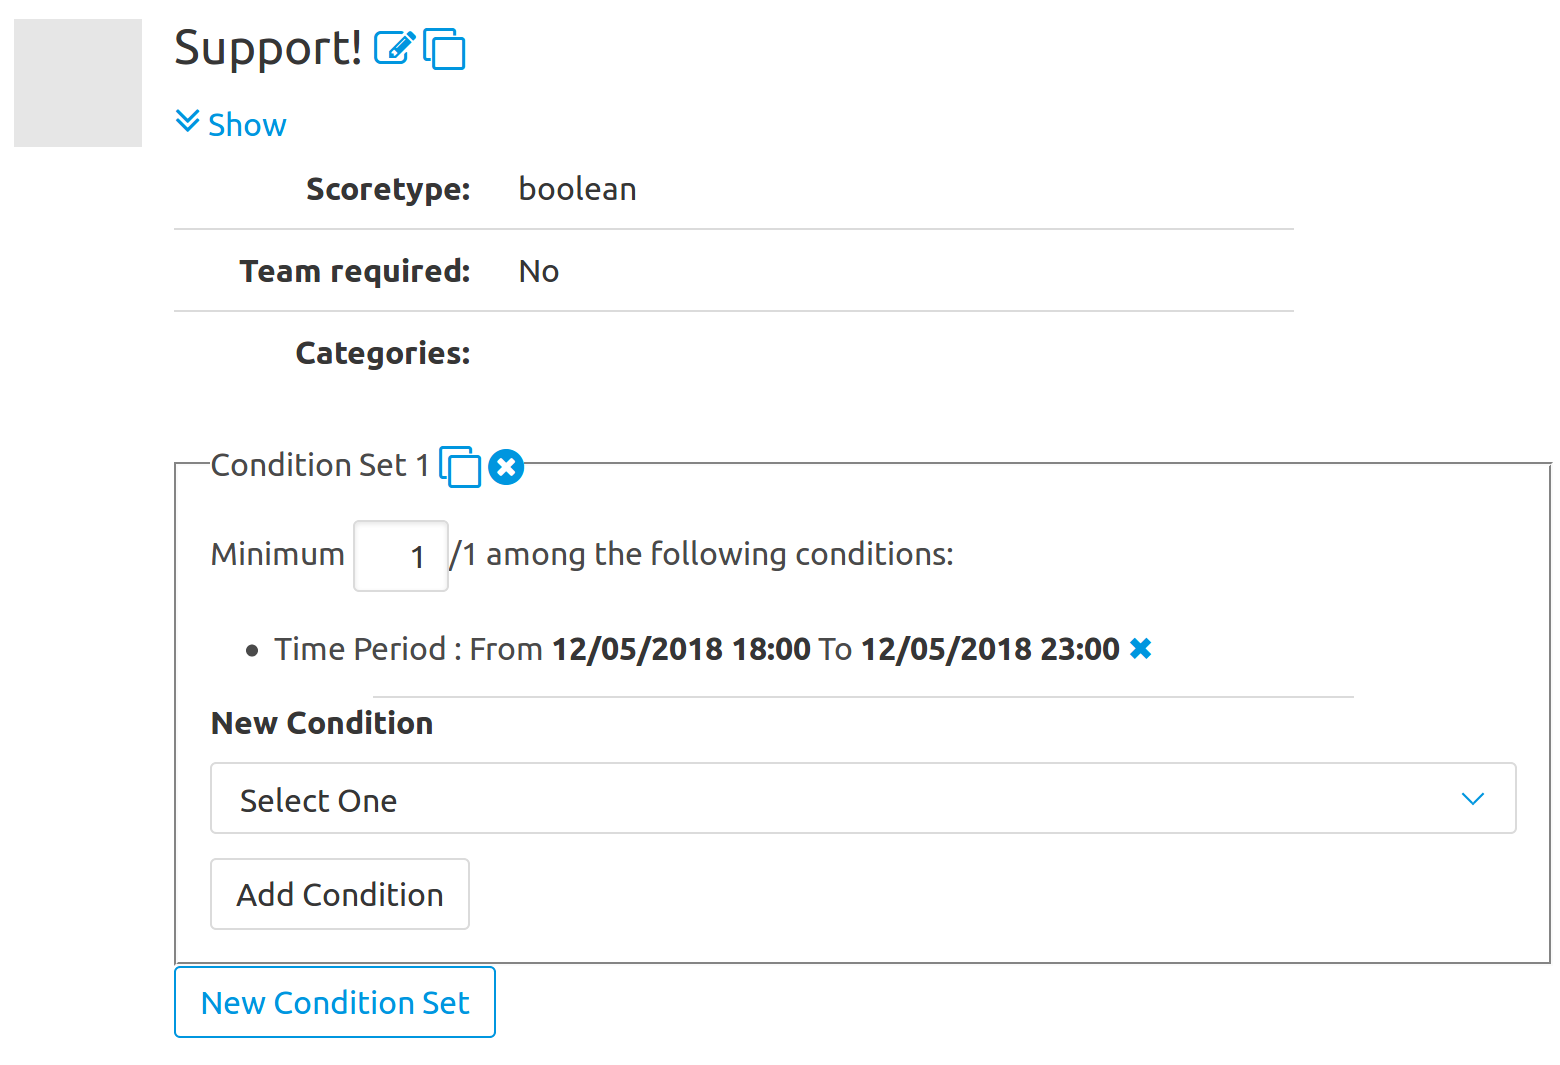
Congrats! This means your Activable will now only be activable during the defined period of time. You can of course add other time slot (other saturdays or longer periods), even overlapping ones (although probably less relevant).
Notice the "Minimum 1/X" sentence, meaning that at least 1 among the specified conditions must be valid for the entire Condition Set to become valid. If you have added other (non overlapping) time slots to the Condition Set you will probably let this value set to 1, as you only care if a player is giving support to his/her football team during a valid period whichever it is. If, however, you combine with conditions of other types (like min. time interval or so) you might probably want to update this value. This is when things are becoming interesting and is explained in detail in the other sections.
You have defined a new Gamification Team, with one Activable and one Condition Set. This is minimal process but Place2Be can do much more than that!